The aurora is not a myth in Britain, and it is not as rare as the fuss suggests when a decent storm arrives. What is rare is everything lining up at once: a solar disturbance big enough, arriving after dark, during a clear spell, with you already awake, dressed and standing somewhere with no streetlight in the frame. A camera gives you an advantage here. A modern sensor will pull green out of a sky that looks to your eyes like faint grey cloud, which is why a phone snap can sometimes look better than what you actually saw. But the difference between a green smudge and a photograph worth printing comes down to planning. Here is how to plan a UK aurora shoot properly.
Read the forecast, not just the Kp number
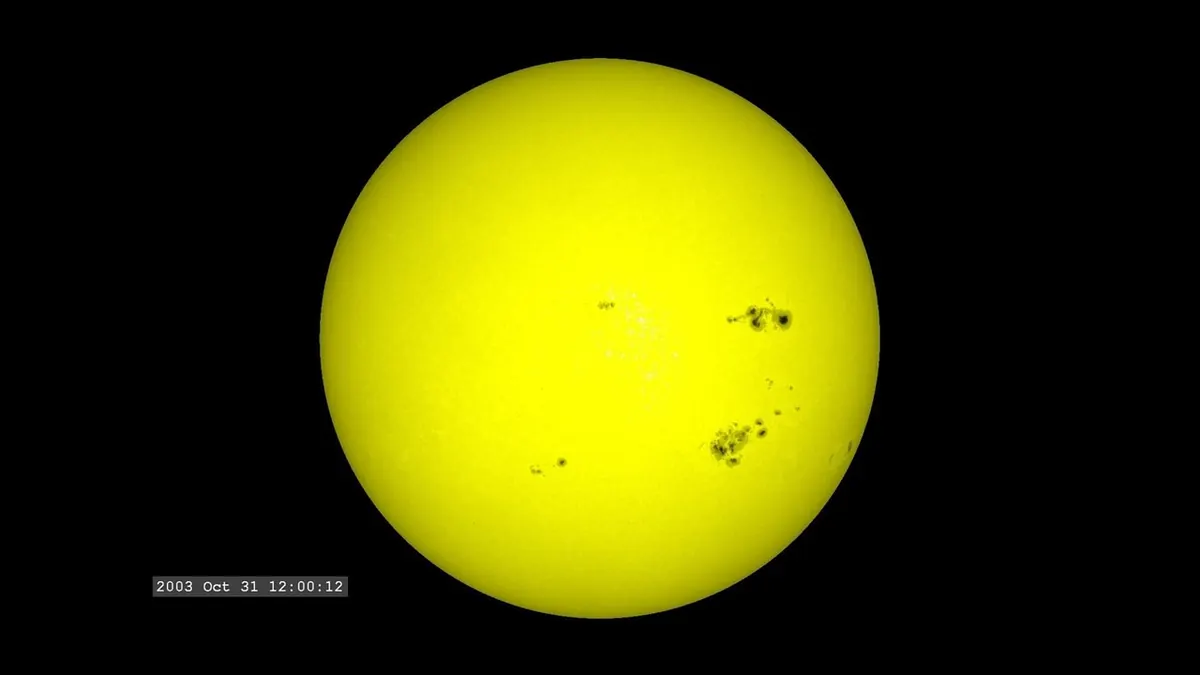
The Kp index is the figure everyone quotes, and it is useful, but it is a global average rather than a promise for your postcode. What matters more is whether the interplanetary magnetic field has turned southward, solar wind speed, and whether a coronal mass ejection is on its way and when it should arrive. Those are the details that separate a night of nothing from a night you remember.
Check the NOAA Space Weather Prediction Center, SpaceWeatherLive and AuroraWatch UK, and set up alerts rather than refreshing pages. Apps such as Glendale are popular with UK observers because they filter the noise. As a rough guide, Kp 5 usually gives northern Scotland a fighting chance, while Kp 7 and above brings England and Wales into play. Treat that as a starting point, not a rule.
Aurora arrives in bursts. A substorm can flare, brighten and fade inside twenty minutes, then return an hour later. Watch the live data while you are out, because the best window might be at 1am or it might be at 4am. The equinox months around March, April, September and October tend to be productive.
Find a dark sky with a clear northern horizon
Darkness is the cheapest upgrade available to you. Start with a light pollution map, then look at the Dark Sky Discovery network and the recognised areas: Galloway Forest Park, Kielder, Northumberland National Park, Exmoor, Eryri and the Cairngorms among them. But do not assume you need to drive for hours. A twenty-minute trip to a field with no village to the north can beat a two-hour journey to a national park.
Cloud is the bigger enemy, so check satellite imagery on the evening and look for gaps rather than a perfect clear forecast. When you arrive, check the northern horizon is free of trees, hills and buildings. A low auroral arc often sits only ten or twenty degrees above the horizon, which is about the height of your fist at arm's length. A bright moon will wash out faint structure, so a night either side of full moon is worth avoiding if you have the choice.
Park considerately, close any gates, and do not block farm access. Take a friend if you can, tell someone where you are going, and remember that it will be far colder than the forecast suggests.
The kit that actually matters
You can spend a great deal on this hobby, but the order of importance is fairly consistent:
- A camera with manual controls and reasonable high-ISO performance
- A fast wide lens — f/2.8 or faster, ideally 14–24mm on full frame or 10–20mm on APS-C
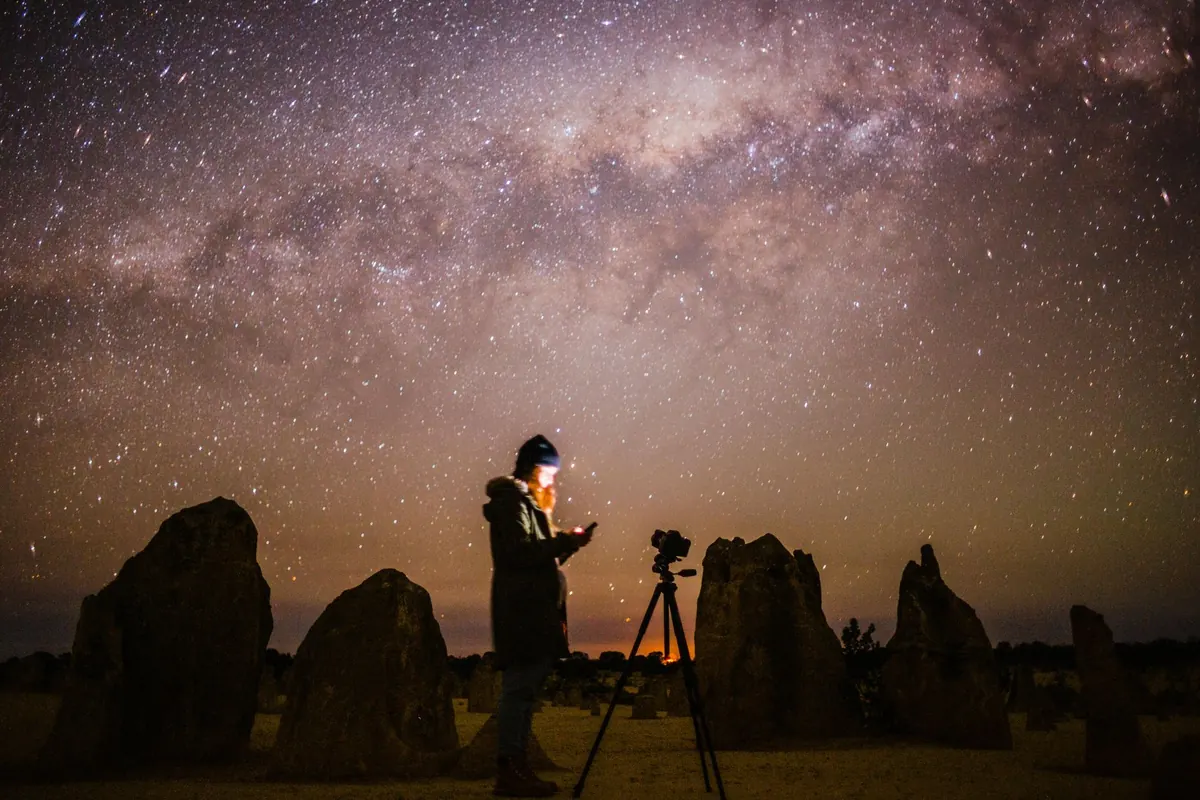
- A solid tripod, because a wobble ruins a ten-second exposure
- Two or three spare batteries, kept warm in an inside pocket
- A remote release, or simply use the two-second timer
- A red headtorch, a lens cloth, a lens hood, and a dew heater if you are out for hours
- Warm layers and a flask
Camera settings: a sensible starting point
Switch to manual, shoot RAW, and begin here: f/2.8, ISO 1600, 10 seconds. Then adjust rather than guessing entirely from scratch.
- Too dark? Raise ISO to 3200, or extend the exposure towards 15 seconds.
- Too noisy? Open the aperture wider if your lens allows, rather than pushing ISO further.
- Stars trailing? Shorten the exposure. The old 500 rule still works as a rough guide — divide 500 by your focal length for maximum seconds on full frame, then divide again by your crop factor.
Set white balance to daylight or around 3800K; if you are shooting RAW it is easily corrected later, and it stops the camera preview looking off-putting. Turn image stabilisation off when the camera is on a tripod. Long exposure noise reduction doubles the time each frame takes, so switch it off during an active display and deal with noise when you edit. Check the histogram rather than the screen: you want the bulk of the data in the left third, with nothing clipped at either end.
Focus and composition in the dark
Autofocus will not help you. Switch to manual, enable live view, magnify on a bright star and turn the ring until the point is as small as it gets. Then tape the ring in place so you cannot knock it. If there are no stars visible at all, focus at infinity and stop down slightly.
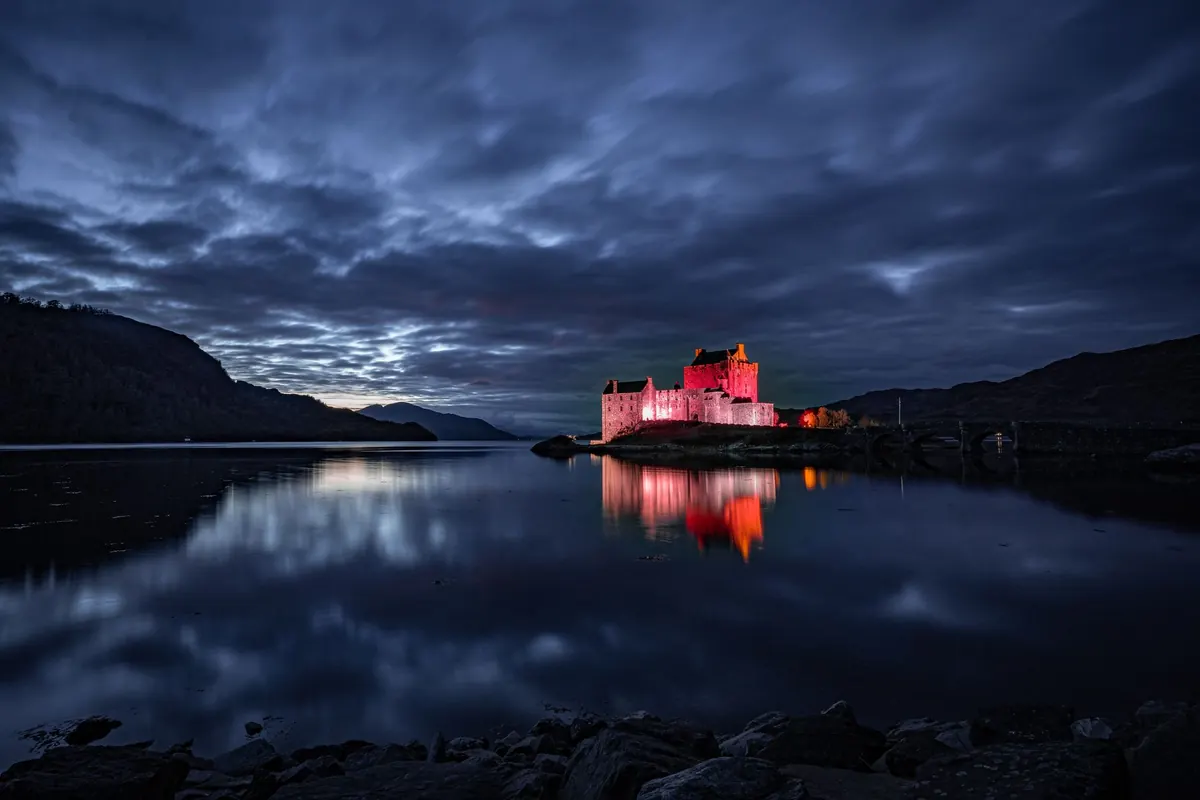
Composition is what lifts an aurora shot above a record of green sky. Give the frame a foreground: a silhouetted tree, a bothy, a loch, a drystone wall, a stone circle. Keep the horizon low in the frame if the aurora is a thin arc. Resist the urge to light up foreground objects with a torch, which destroys your night vision and usually looks artificial.
Then be patient. Give your eyes twenty minutes to adapt, avoid reviewing every frame on the back screen, and keep shooting when the arc brightens. Shoot several frames of the same composition and you will have a timelapse as well as a still.
Editing the frames you bring home
Edit towards the sky you saw, not the sky you wish you had seen. Lift shadows gently, pull back any blown highlights, correct the white balance, and apply noise reduction with restraint. Heavy dehaze and saturation will turn a soft green glow into neon, which fools nobody. Compare your frames side by side and keep the quiet, honest one.
A checklist for the night
- Check the forecast and alerts in the afternoon; decide whether the night is worth a trip.
- Pick a location with a dark northern horizon and note a safe place to park.
- Charge batteries, format a card, and pack the tripod, torch and warm clothes.
- On arrival, set up, focus manually, then set f/2.8, ISO 1600 and 10 seconds.
- Take a test frame, check the histogram, and adjust from there.
- Shoot through the substorm rather than stopping at the first frame.
- Check the sky again on the drive home — the second burst is often the best.
Above all, dress for a night that will feel far colder than you expect, and give it time. Most successful UK aurora photographs are taken by people who were still standing outside when everyone else had gone to bed.
Photo: Rachel Claire / Pexels